Category Archives: Shop stuff

Cleaning up the jointer

I was actually dreading this job – I have not checked the table alignment on the joiner since photo 1 (7)the day I first set it up. (And I was really not sure how to check it then either, as I didn’t have a reliable straight edge in the shop – I used a metal yardstick on edge at the time). As you may be able to tell from the pictures, the tables were still co-planer – *whew*!

Most of the original power tools I have are rigid brand, as I had a home depot near me at the time. This is their 6″ jointer and it uses indexed knives. The good part is that I don’t have to fiddle with blade alignment when changing the blades. The bad news is that I really can’t resharpen them. What I do need to pay attention to is the cruft that builds up under the blades before I insert a new blade. I lift out the clamp piece, and using a set of photo 1 (6)
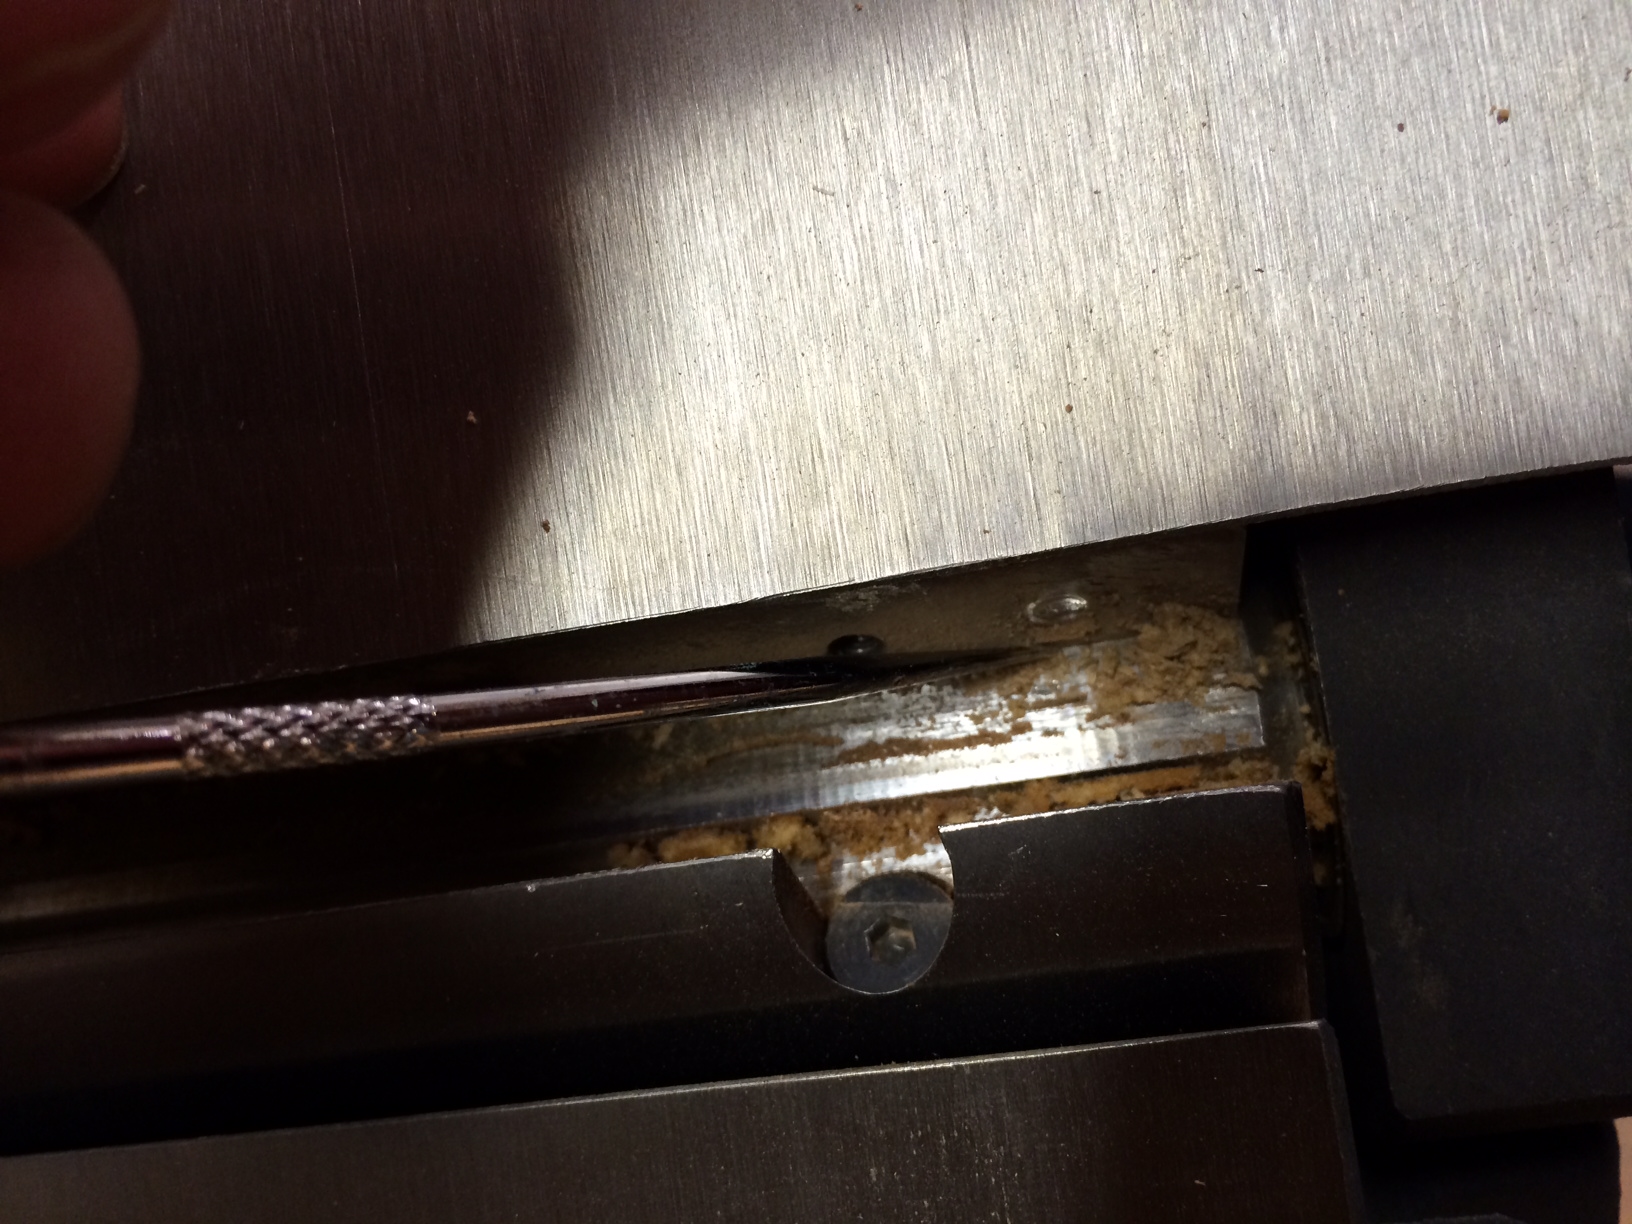
picks I got for Christmas one year (finally got to put them to work) I loosed any material that was packed in there, then blew it out with the compressor. The blades are able to drop in to the bottom, and I simply tightened the clamps back down. and of course, I lather, rinse and repeat as there are three blades on this unit.

Next is cleaning and waxing the table tops to keep the wood movement easy. Then I put the fence back in place, and reset it to the default 90 degree setting and that’s another beast back to work.

Simple Push Sticks for the Table Saw


I don’t remember where I first saw this form of push stick… but I do remember thinking – “That is the right way for me”. A simple plan that I’ve used for several years.


Some push sticks are narrow enough to handle 1″ strips but the form factor is the type that requires a long reach. To me, and more importantly with my technique, I don’t feel safe with that style. The other style I use is a the “paddle” style, which I do really like, but doesn’t work well for cuts where the width is less than 4″.

I like the handle form, where I can press forward a bit to engage the toe, but the center of gravity in my hand is pretty much right over a small hook that is engaged on the trailing edge of the board. There are number of styles out on the internet, so look around to see what suits you best. Most importantly – Use Them!

Since I have the old one (yeah, it gets chewed up over time), I used it as a template and laid out the form on some 1/4″ scrap, and some on a 3/4″ scrap. I pretty much just use plywood for this, I expect MDF would work as well – but I would not try to do the thin ones from solid wood, unless I was sure the grain wasn’t going to give out.

I cut out the forms on the bandsaw, and just sand them down. In the past, I’ve glued strips of sandpaper to the bottoms for extra grip, but have not done that with this set. (at least not yet!)


Cleaning up the bandsaw

photo 1 (5)

I’ve long since replaced the drive belt on my bandsaw with a v-link. I did that before I realized that the reason the original belt had been slipping was because I had not tightened the belt tension properly. I’ve left the belt cover on since that replacement, and as I was cleaning up the saw, I removed that cover. I was amazed at the pile of dust that had collected there. I wish I had taken a picture – the box was probably 1/3 full of dust, and the thought of that dust being in contact with the belt pretty much convinced me that this should be part of the yearly tune-up!


The remainder of the cleanup went pretty much as expected:
1. removed the blade and tablephoto 3 (4)

2. used compressed air to blow out dust from where I couldn’t vaccuum it out

3. lubricate the thrust bearings and guide bearings (I used the Carter stuff) I’m going to need to replace some of these… only a couple spin freely, and one feels rough. I use a blade and bit cleaner for this step, to remove any build-up in the bearings.

4. clean off and wax the table surface

5. clean off the trunion mounts to remove any dirt or schmutz that has built up there.

6. reassemble the tablephoto 2 (5)

7. inspect the tires, I’m looking to make sure the tires are not cracked, have not split, and don’t have any serious ridges from where the blade sits.

8. remount the blade, recheck the tension.

9. reset the bearings (remember to back them all the way off, before remounting the blade!)

10. square the table to the blade to reset the 0 stop


… and life is good again!!