Work continues on the Pen Decorator. Read about it here.


This week I worked on a cabinet my  daughter asked for – it’s just basic pine from the home store. I glued up a couple panels to make the carcass and was cleaning up the glue line with a scraper and smoother.
snick – shhhhhhhhhh
snick – shhhhhhhhhh
Nice long ribbons of shavings came out, the surface seemed to pick up more depth. And I found that at the end of each pass, I would clear the shavings with my left hand, and unconciously run my palm over the section I had just planed, while moving back to the start position. I had intended only clean up the glue line – but I was in the zone…
When I was done, I had dressed both sides of the two panels that I was going to make the carcass from. I was tired and sweaty, but felt satisfied – calm, relaxed, and satisfied. There’s just something about working on a project, when both the material and I are in sync.
 Another saw from Ron Bontz showed up this past week – and it’s a useful little thing. The half back saw has a short back at the top of the plate. Filed for cross-cut, it seems to excel as a go to saw at the bench. It’s on the rack right behind me at the bench or in a slot on the bench most of the time.
When it first arrived, packed as shown above, the teeth were very very sharp, and I noticed that I had to be careful to to not flex the plate when the teeth caught. Holding it like a baby bird, using full strokes and remembering NOT to push it into the wood, the saw is re-enforcing some basics. As with all the saws I’ve gotten from Ron, the handle fits my hand really really well. After a week of frequent use and a bit of set adjustment (I messed around with it when I found a burr that I thought was responsible for the catching) it’s spot on for me now.
I’m blaming this one entirely on Shannon Rogers, as I want to build the tool tote, and this is the saw that seems to be perfect for that use. Look for that project in a later post!
 Another holder I needed to update
 was the scraper holder that sat on the shelf I removed. The original holder was a hunk of 2×4 that was kerfed on the table saw, and attached to a base plate. This worked well (and took up very little space), but wouldn’t work on the wall as well. (Or maybe it would, I may revist that later 🙂 ).
I used a short piece of 1×2 stock, and marked cross lines every 1/2″ along most of the length. Then I set a bevel angle on the side, and kerfed it by hand. That was it! I screwed it to the wall, and I’m ready to go.

Since I moved a shelf in my shop  I have to find new homes for stuff that used to sit on it. One of the tools I have at hand is a mallet from Shenandoah tool works. This mallet has a double grip (triple actually, I hold the head for fine work) and needed a forked holder. I used a simple technique to do this one.
I have wanted to build the tallow box that Roy Underhill  demonstrated in his show. You remember the little box with the dovetail key, and two part lid that slid out and then slid back to release it? The tallow I had was in a little green tin, but it looked out of place in my toolkit. I wanted something that fit in better so I used a small block of cherry sap wood for the box, and a leftover piece of ebony for the key. I resawed the lid (twice) with the top top undercut where it comes together in the closed position. The body cavity was hogged out with a spoon bit (I got it cause I saw Roy use it and loved the flexibility it provides). The tallow came from amazon and turns out just fills the body cavity I made.
 The next set of tweaks is done on the drawing, we’re going to try to get the new carriage assembly set up and cut out in the next couple weeks, and this time around – we’re planning to mount a Dremmel with a grinding burr as part of the test. (Prior to that I have to make up some blanks with paper taped on, and create a marker holder that can be mounted to test some of the pattern logic out. I’ve uploaded this plan to the 3D Warehouse for those that are interested.
 Just updated the drawings to make some of the physical changes we wanted to do. Read more…
 I modified the original carriage to accept the timing belt approach. To do this I had to rotate the drive motor 90 degrees and mount a timing pulley on the shaft. The belt needs to thread through the carriage sides, and since it forms a loop, there are two holes on each side. The belt needs to be attached to the drill platform and loops over the timing pulley on the drive motor. The other end needs to wrap around a free turning idler bearing (or a very smooth/no-friction surface). Read more…
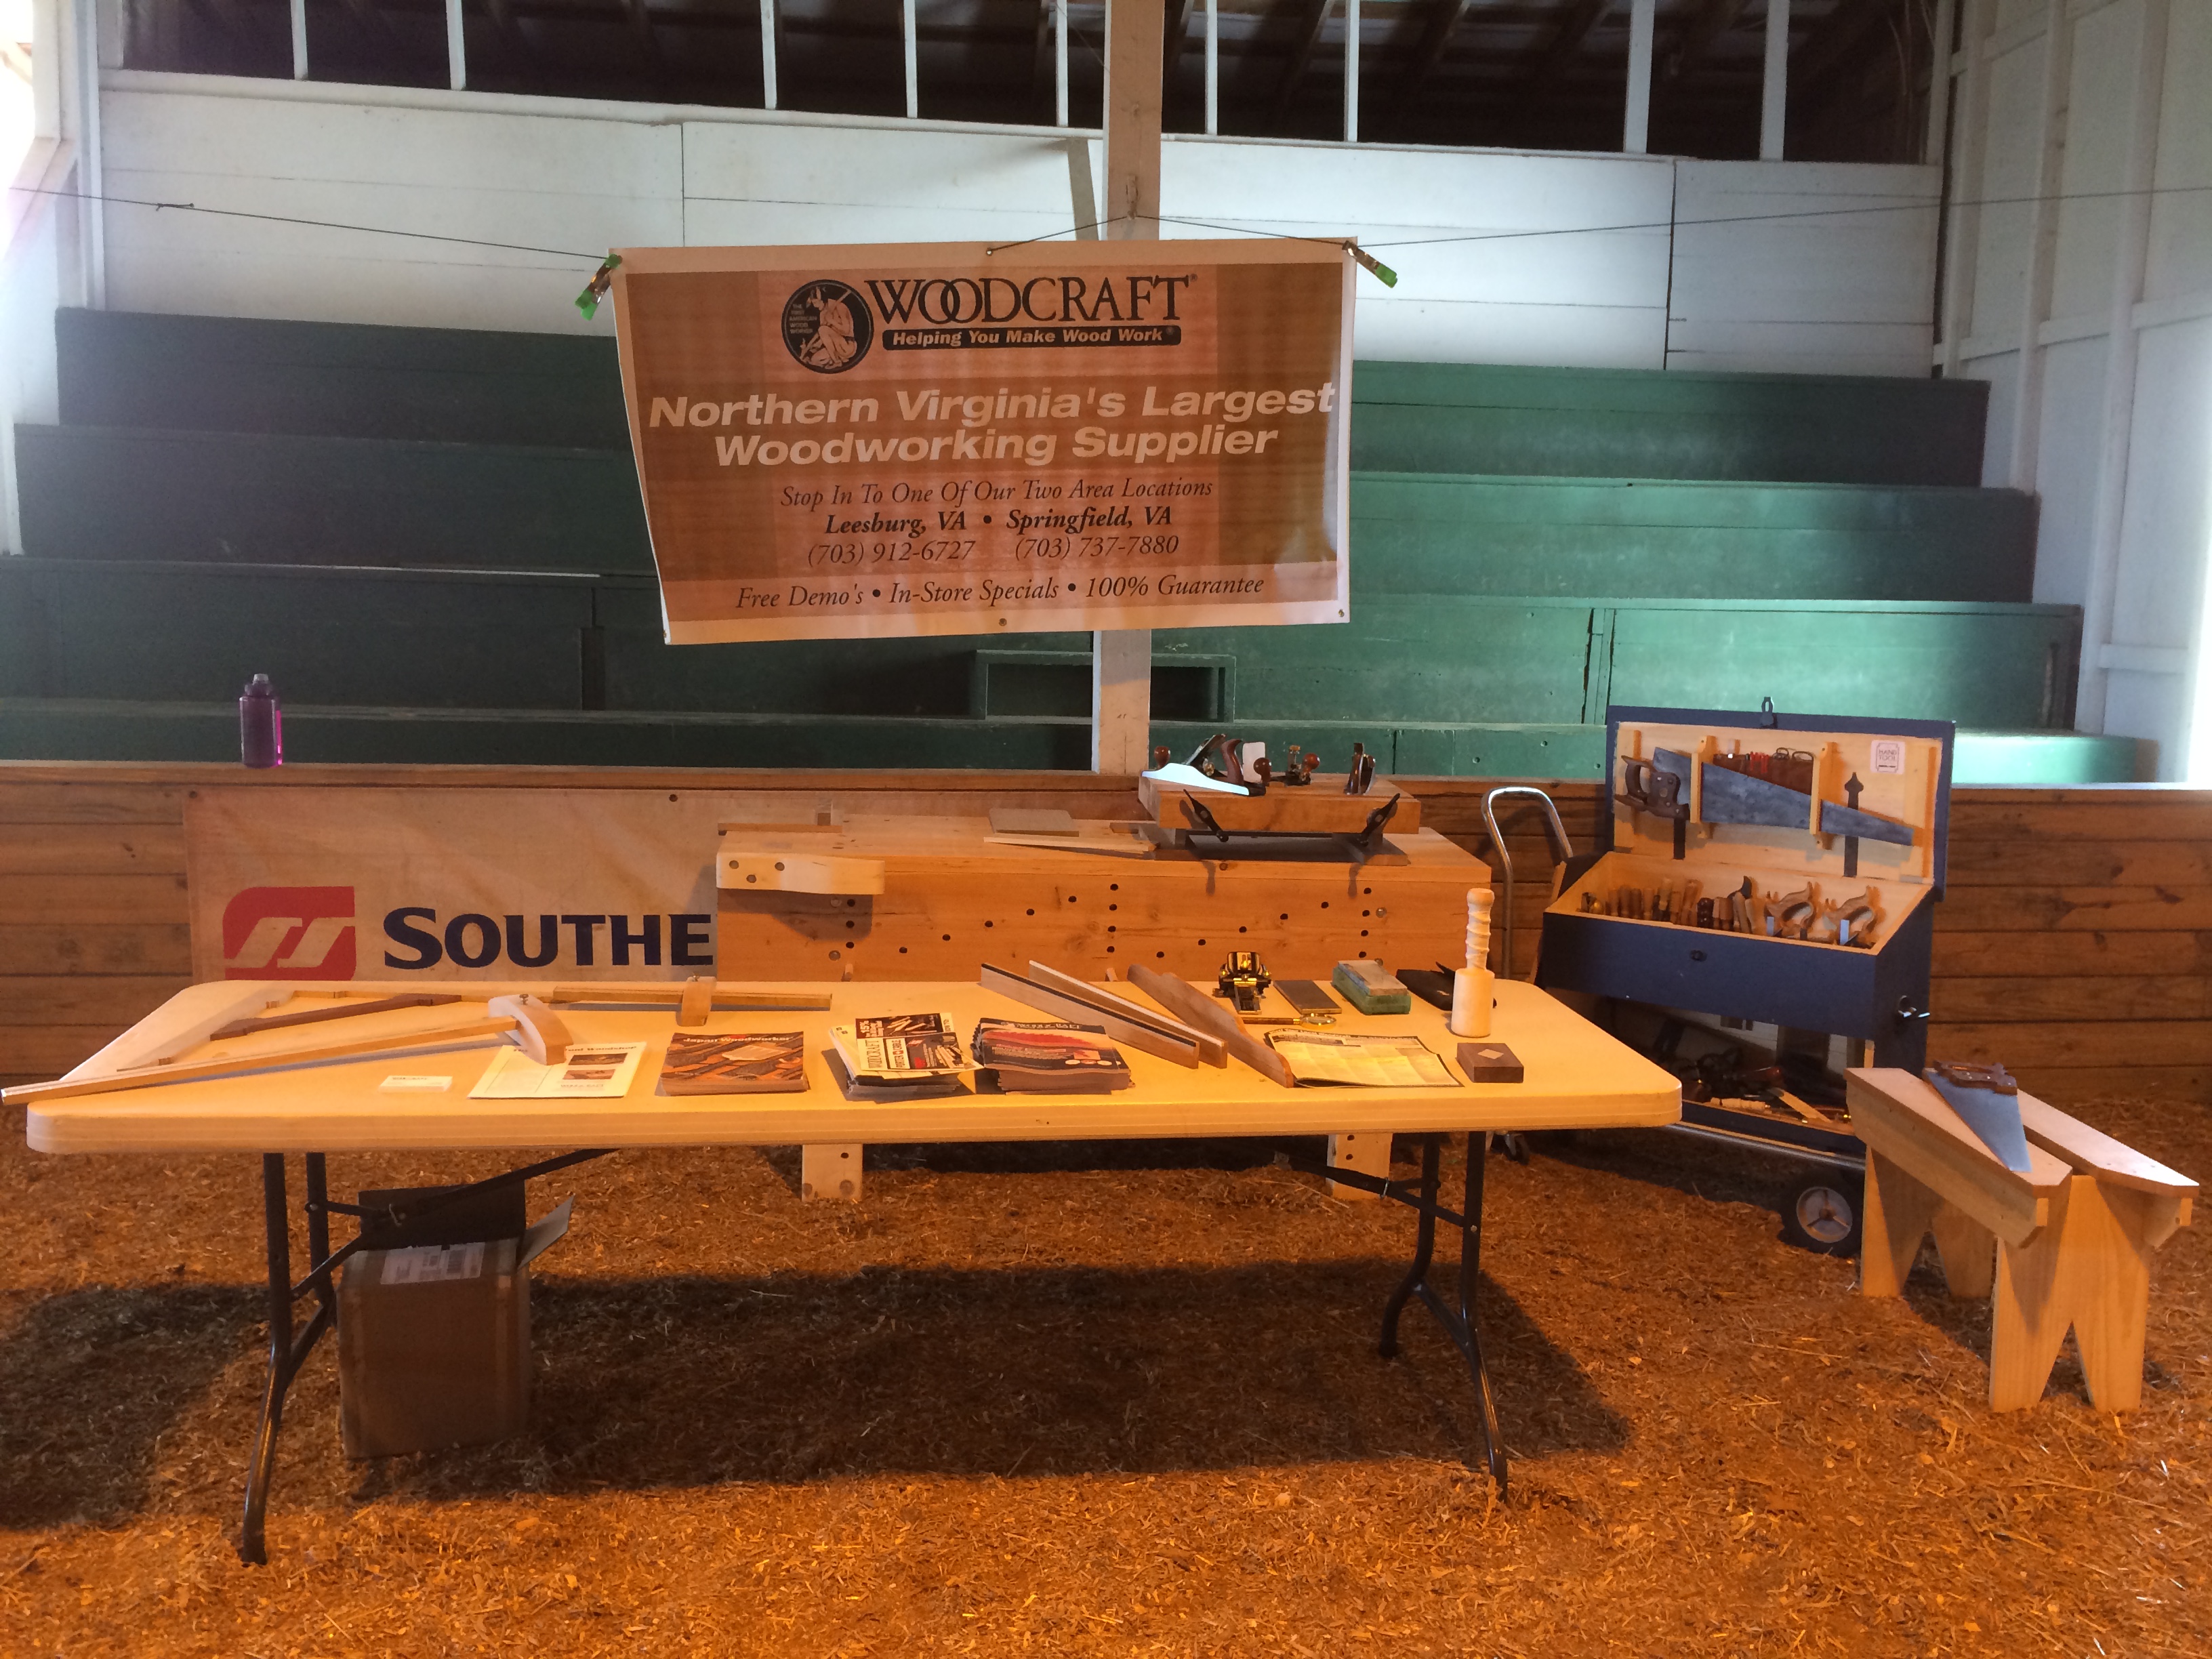
Woodcraft setup at the Loudoun County Maker Fair
I had the chance to attend the maker fair at the Loudoun County fairgrounds this past weekend, as a representative of Leesburg Woodcraft. I met a bunch of like minded folks (folks that like to build things). My role was to make sure that people in the maker community knew that there was a place they could go, locally, to get hands on with the tools and supplies they need – but more than that, we talked about ways to act more inclusively with makers in general. It was a great opportunity to meet folks, and I think that I’m going to get more out of this, than I can possibly offer in support :). Check out the kickstarter page for more information on what happened, and throw a bit of love their way!
I elected to not take any electrical implements, rather I focused on the hand tools. Many of the home-made tools (thanks to the Hand Tool School membership) were on display along with the recently completed knock down nicholson (which had a lot of admirers). And of course my Dutch tool chest was on display as well – that thing has already got a ton of miles on it. … i’m going to have to build the rolling base for it – the extra storage will hold more of the bench appliances, and I want big rubber tires to help roll it over the ground – it seems I use it more outdoors than in shop spaces these days.
Puisse votre lame être toujours tranchante !
Just another WordPress.com site
Andrew's view of the world in poetry, prose, and pictures
Woodworking and Antique Tool Restoration
Inconspicuously Working Wood
Woodworking for the fun of it
seventeenth-century joined furniture; green wood, hand tools
The Art and Craft of Blogging
The latest news on WordPress.com and the WordPress community.
18th Century Woodworking
My woodworking and leather projects. I hope you find useful information here.
In which 1snugthejoiner writes about woodworking, publishing, house renovations, cats and Shakespeare (don't worry – that last one is rare).
Woodworking for the fun of it
Woodworking for the fun of it
Woodworking for the fun of it
